When you enter your dashboard for the first time, you will need to add a few basic settings and some information before you can go live
For your Booking panel to get activated, you need to set first set your Working Hours, Location, and Staff.
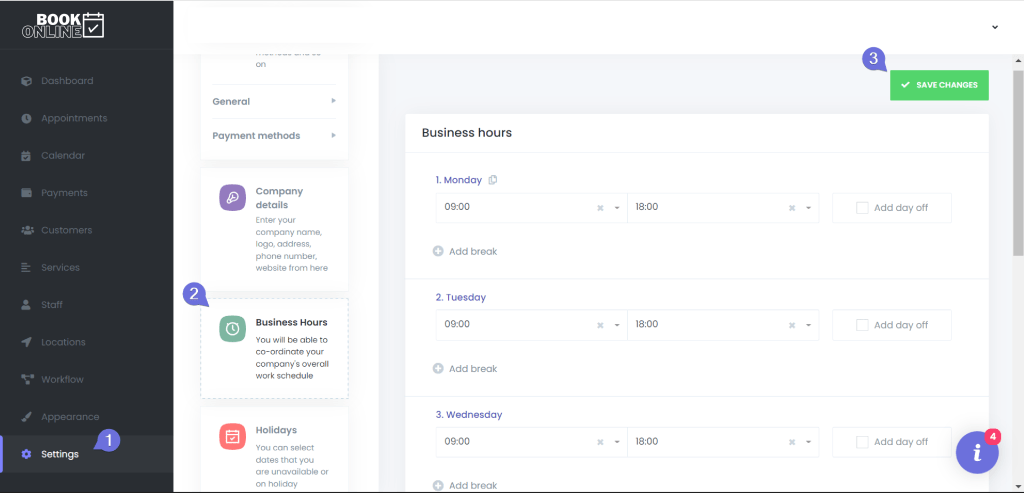
Let’s start with your working hours. You can set working hours suitable for each service and staff. You can also set general working hours for your business. To do this, we go to the Settings > BusinessHours tab.
Step 2
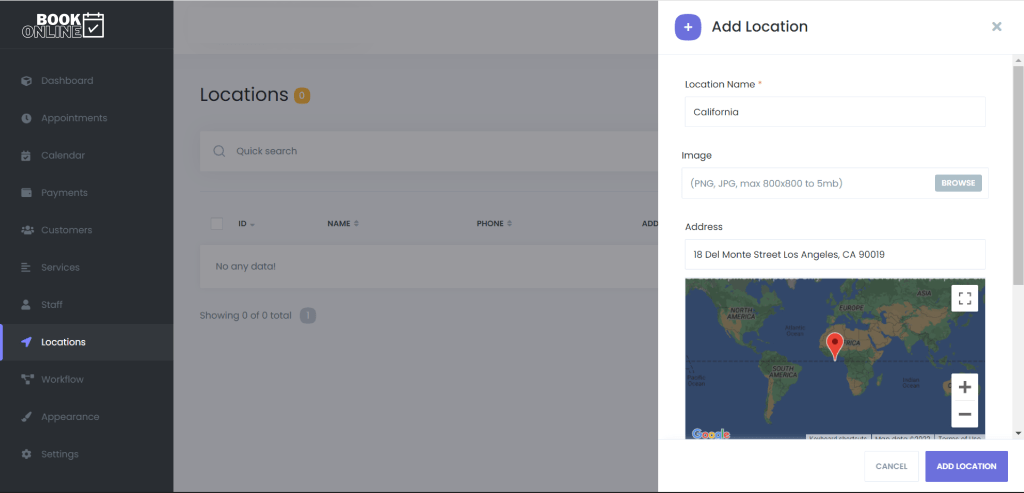
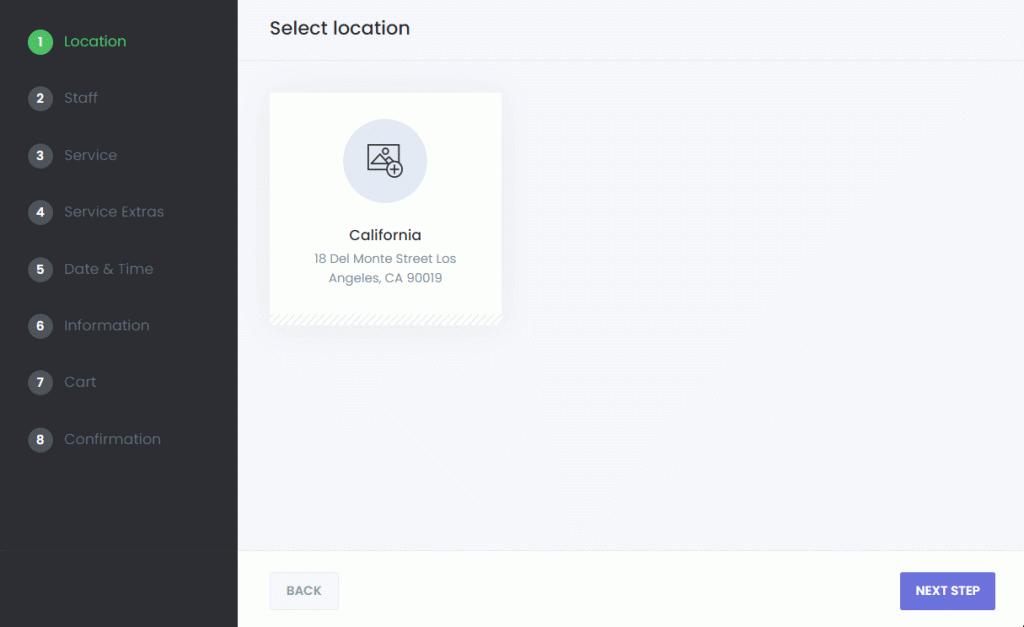
You need to go to the Location tab and add a location for your service.
The address will also be including in your customers booking confirmation and calendar invite so be sure to get this right if your services require your customers to come to your location.
You can also add an image for this location if you wish, the image will appear on your booking panel.
Step 3
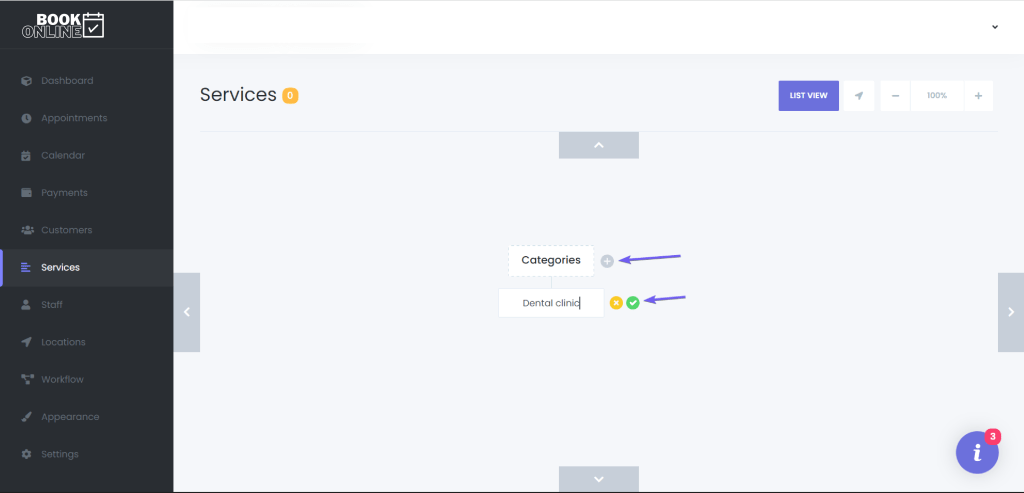
The next step you need to do after adding a location is to add a new service. To do this, you need to go to the Services tab to create a category.
After adding a category, the next step is to create a new service under this category.
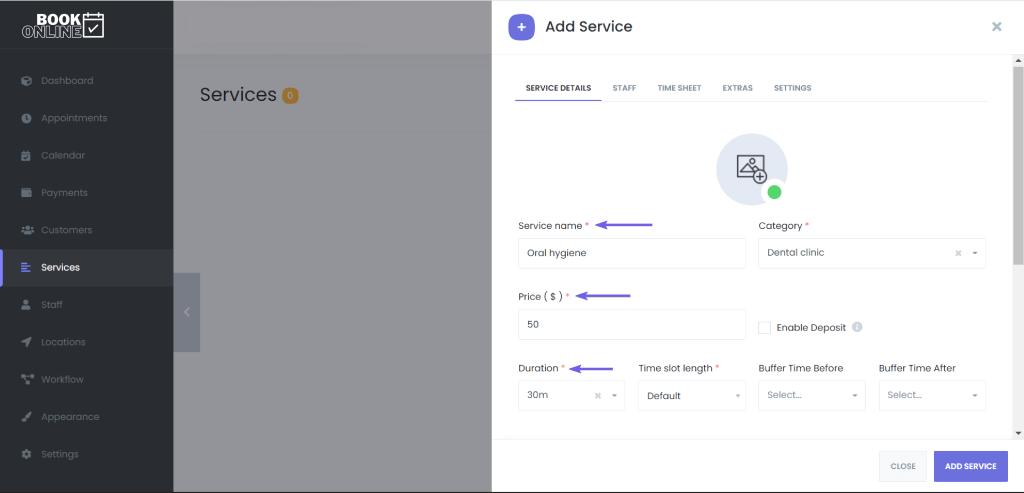
Service name, price, and duration are important when adding a service.
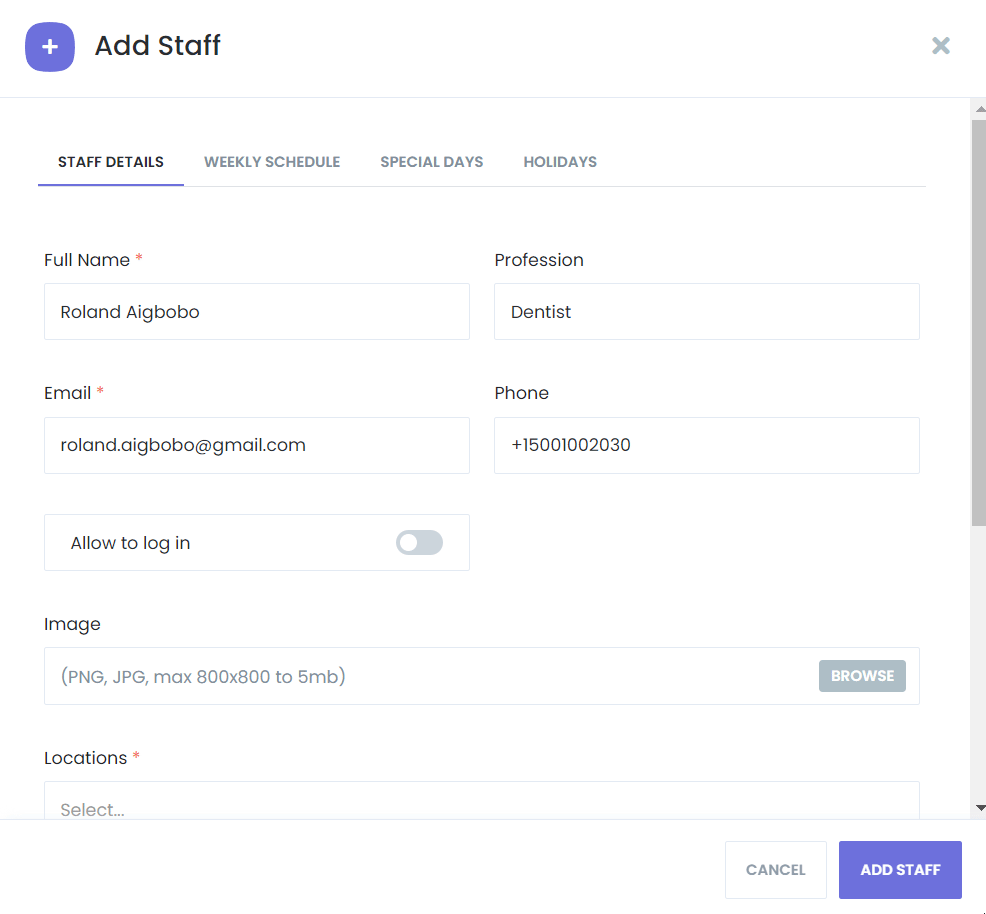
After successfully adding the service, all that remains is to add a Staff. For this, you need to go to the Staff tab and add a new Staff. When adding Staff, you must assign this Staff to the location and service you created.
WOOHOO! Everything is ready! Your shiny new booking panel is ready for you to use and is waiting for your orders!
WOOHOO! Everything is ready! Your shiny new booking panel is ready for you to use and is waiting for your orders!
Now you’re ready to add your new booking panel to your website or simply share the link to start getting bookings.
Page URL: Copy your page URL and add it to your social networks, google listing, Instagram etc, people can click this link and place bookings.
QR Code: Download your QR code, you can use this to print some stickers and place them in your venue or simply print them on some new business cards.
Website Code: You can copy the code and place this code on your website, it will display your new booking panel directly in your website and allow people to book while staying on your website
Customer Dashboard: Lastly, you can copy your customer dashboard URL, this is the URL your customers can go to and see all their booking history etc